Playing Around with ComfyUI
Playing Around with ComfyUI
AIGC was very popular a while back, so I deployed Stable Diffusion’s WebUI locally and played with it for a bit. See: text
But the WebUI interface is too complex and has too many elements. It looks very professional, but it’s also somewhat difficult to use. I happened to be busy with work around that time, so after playing with it for a while I set it aside and didn’t continue.
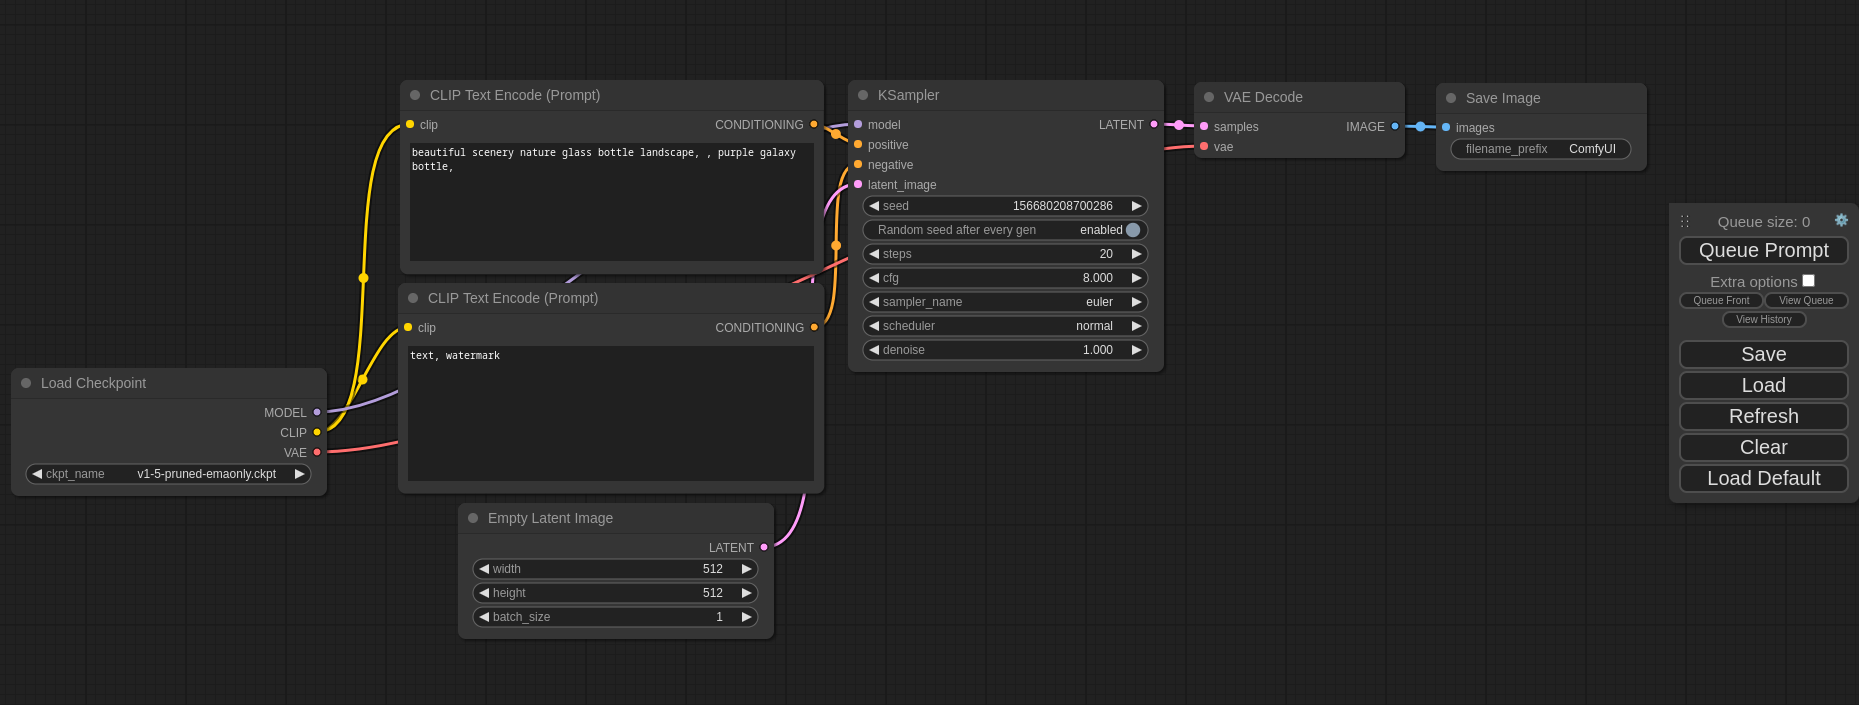
Recently I found another particularly handy Stable Diffusion UI called ComfyUI. It looks very comfortable and uses node connections:
As you can see, different nodes can be linked according to their inputs and outputs, and each node has its own function. It’s very intuitive. I looked it up, and this type of UI is called: visual workflow
Installation
Installing ComfyUI is also quite convenient—just follow the official site: https://github.com/comfyanonymous/ComfyUI?tab=readme-ov-file#installing.
Note
Nvidiacards require installingpytorchfirst:pip install torch torchvision torchaudio --extra-index-url https://download.pytorch.org/whl/cu121Apple Silicon—that is,M1/2/3—can run it too. This is why I got aMacbookProwith64Gof unified memory: see the post. You need to install thenightlyversion ofpytorch, at:https://github.com/comfyanonymous/ComfyUI?tab=readme-ov-file#apple-mac-silicon
Then install ComfyUI-Manager too:
Just use ComfyUI Manager directly, address: https://github.com/ltdrdata/ComfyUI-Manager. ComfyUI-Manager is a plugin that makes it easy to manage all kinds of open-source add-on nodes. With it, ComfyUI becomes much more fun to play with. Note that it needs to be placed in ComfyUI’s custom_nodes directory, so you have to install ComfyUI first:
|
|
python Environment Setup
It’s best to use conda for this. After installing conda, create a python environment:
|
|
Model Configuration
Models you already downloaded with WebUI don’t need to be downloaded again—they can be used directly. The method is described in the docs: https://github.com/comfyanonymous/ComfyUI?tab=readme-ov-file#how-do-i-share-models-between-another-ui-and-comfyui. Simply put, edit config.yaml:
|
|
Point it at the WebUI path, and then you can use the models downloaded by WebUI.
Usage
python main.py --listen 0.0.0.0
Note that --listen 0.0.0.0 lets you access it from other machines too. For example, I start it on my MacbookPro and can also access it from my iPad.
Visit: http://yourip:8188, and then—a whole new world opens up!!!
More Ways to Play
The ComfyUI community is growing very fast, with all kinds of Nodes emerging one after another. Personally I feel it has already surpassed WebUI in popularity. Recently I found another fun one: https://comfyworkflows.com/. It’s a hub for ComfyUI Workflows, where many Workflows can be used directly, and you can also create your own and share them with everyone. With this, you can use other people’s Workflows directly instead of creating your own, and you can also learn how others build their Workflows.
For example, I’m currently using this one: https://comfyworkflows.com/workflows/e6c1c436-f878-4cc3-be0a-43ee96864467
After downloading, select Upload in ComfyUI, choose the json file you just downloaded, and then it can be imported. On my side it throws an error:
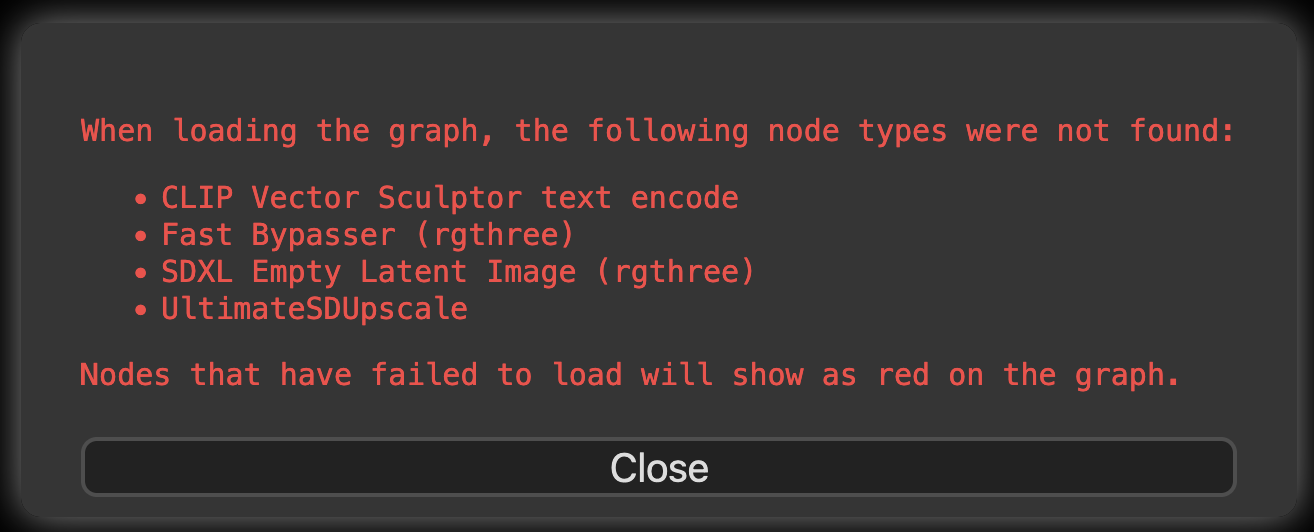 This is where the benefit of
ComfyUI-Manager shows. Click ‘Manager’: 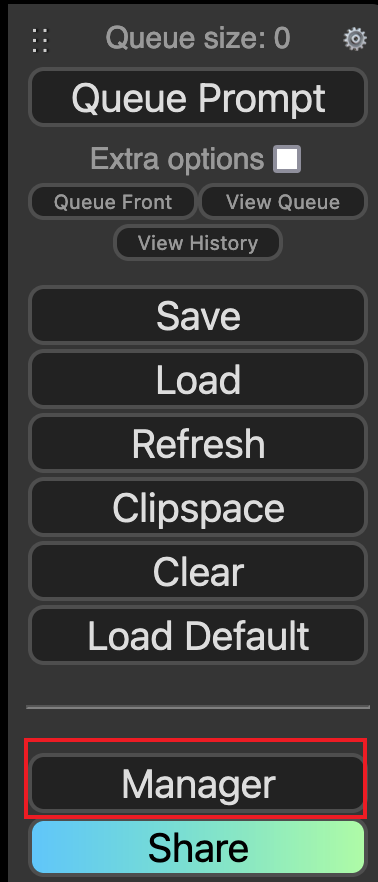 Select
Install Custom Nodes: 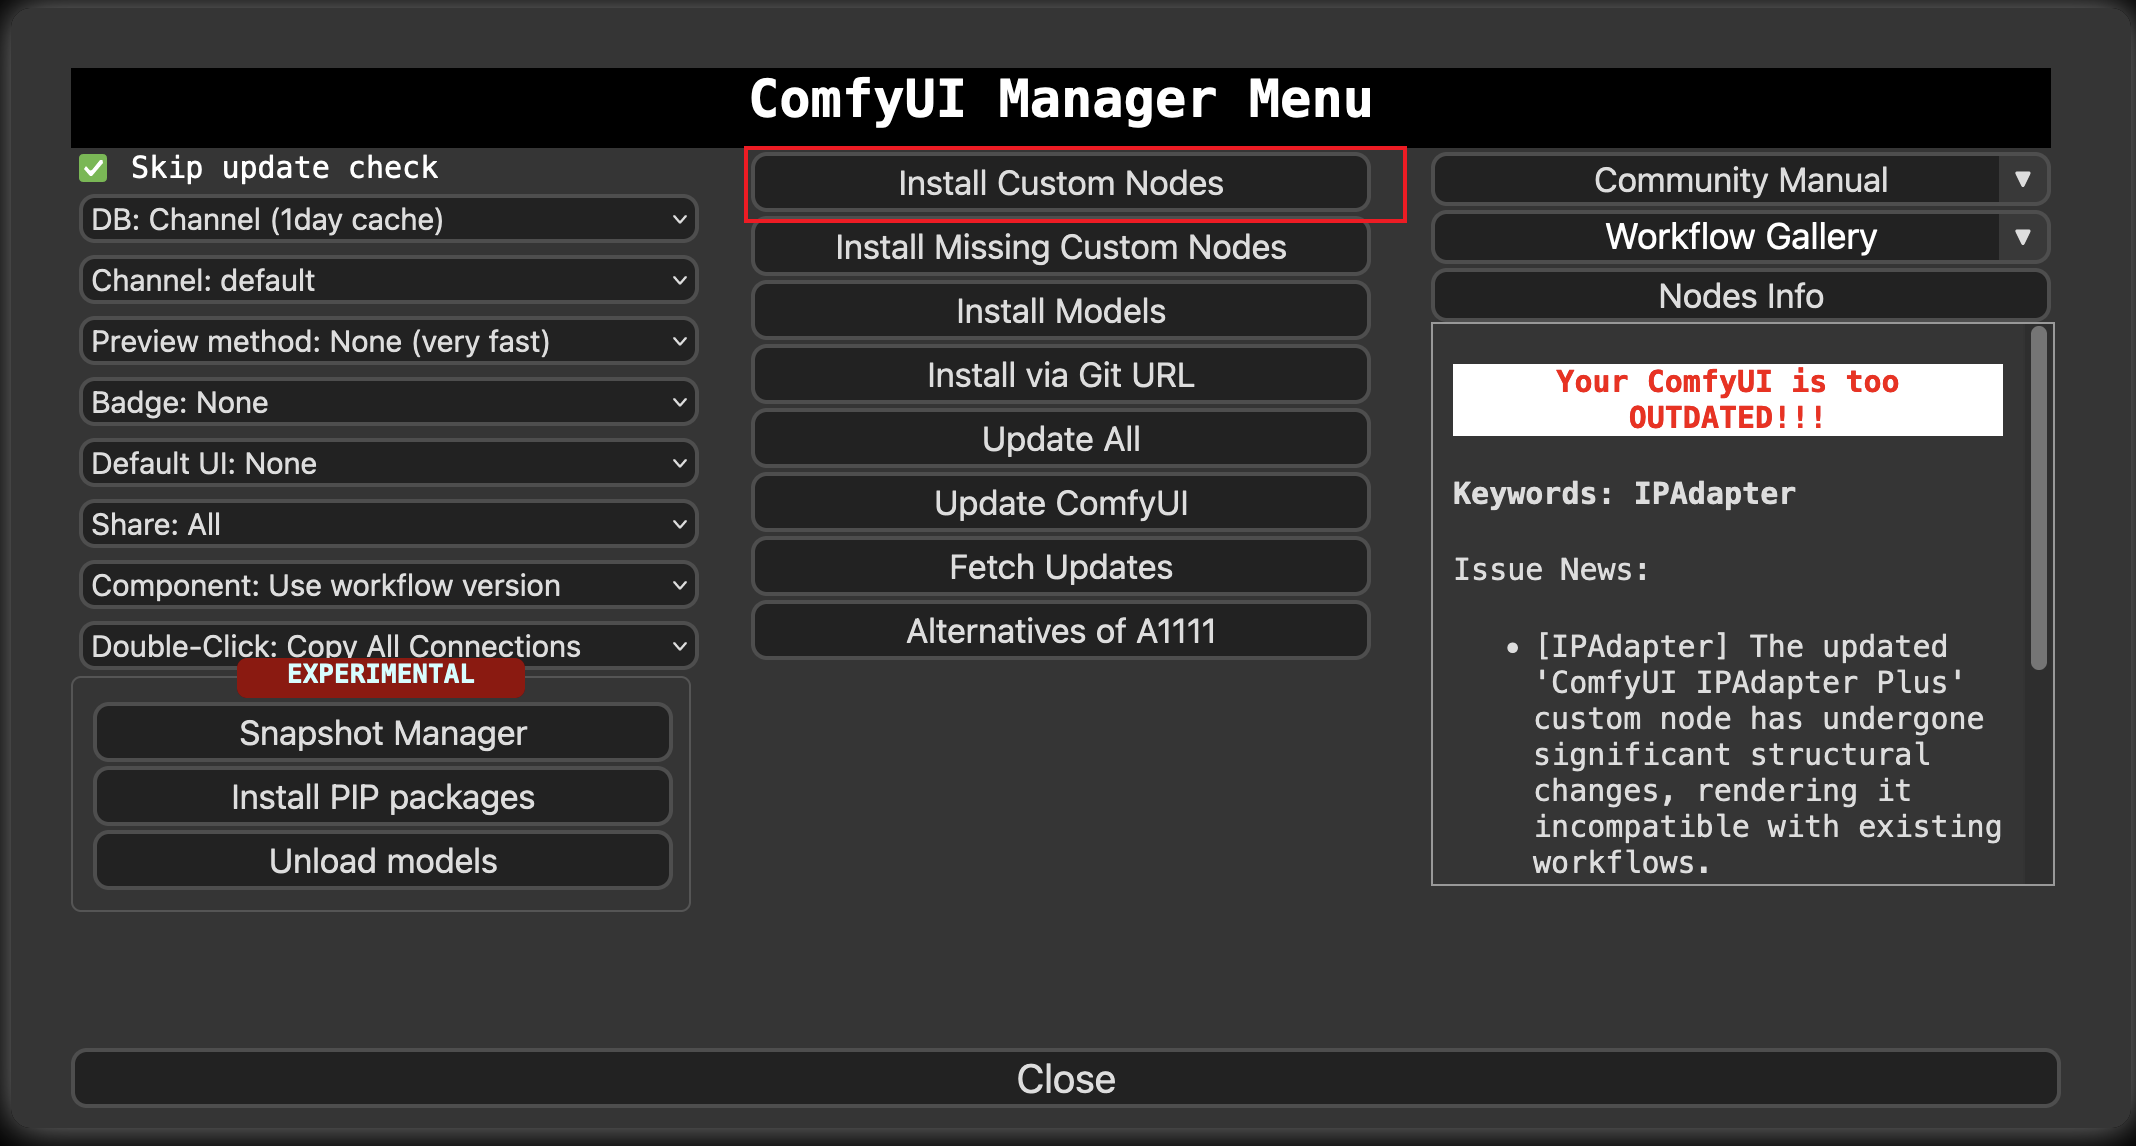 Then search for and select the nodes you need, for example
UltimateSDUpscale; once it shows up in the search results, just install it. 
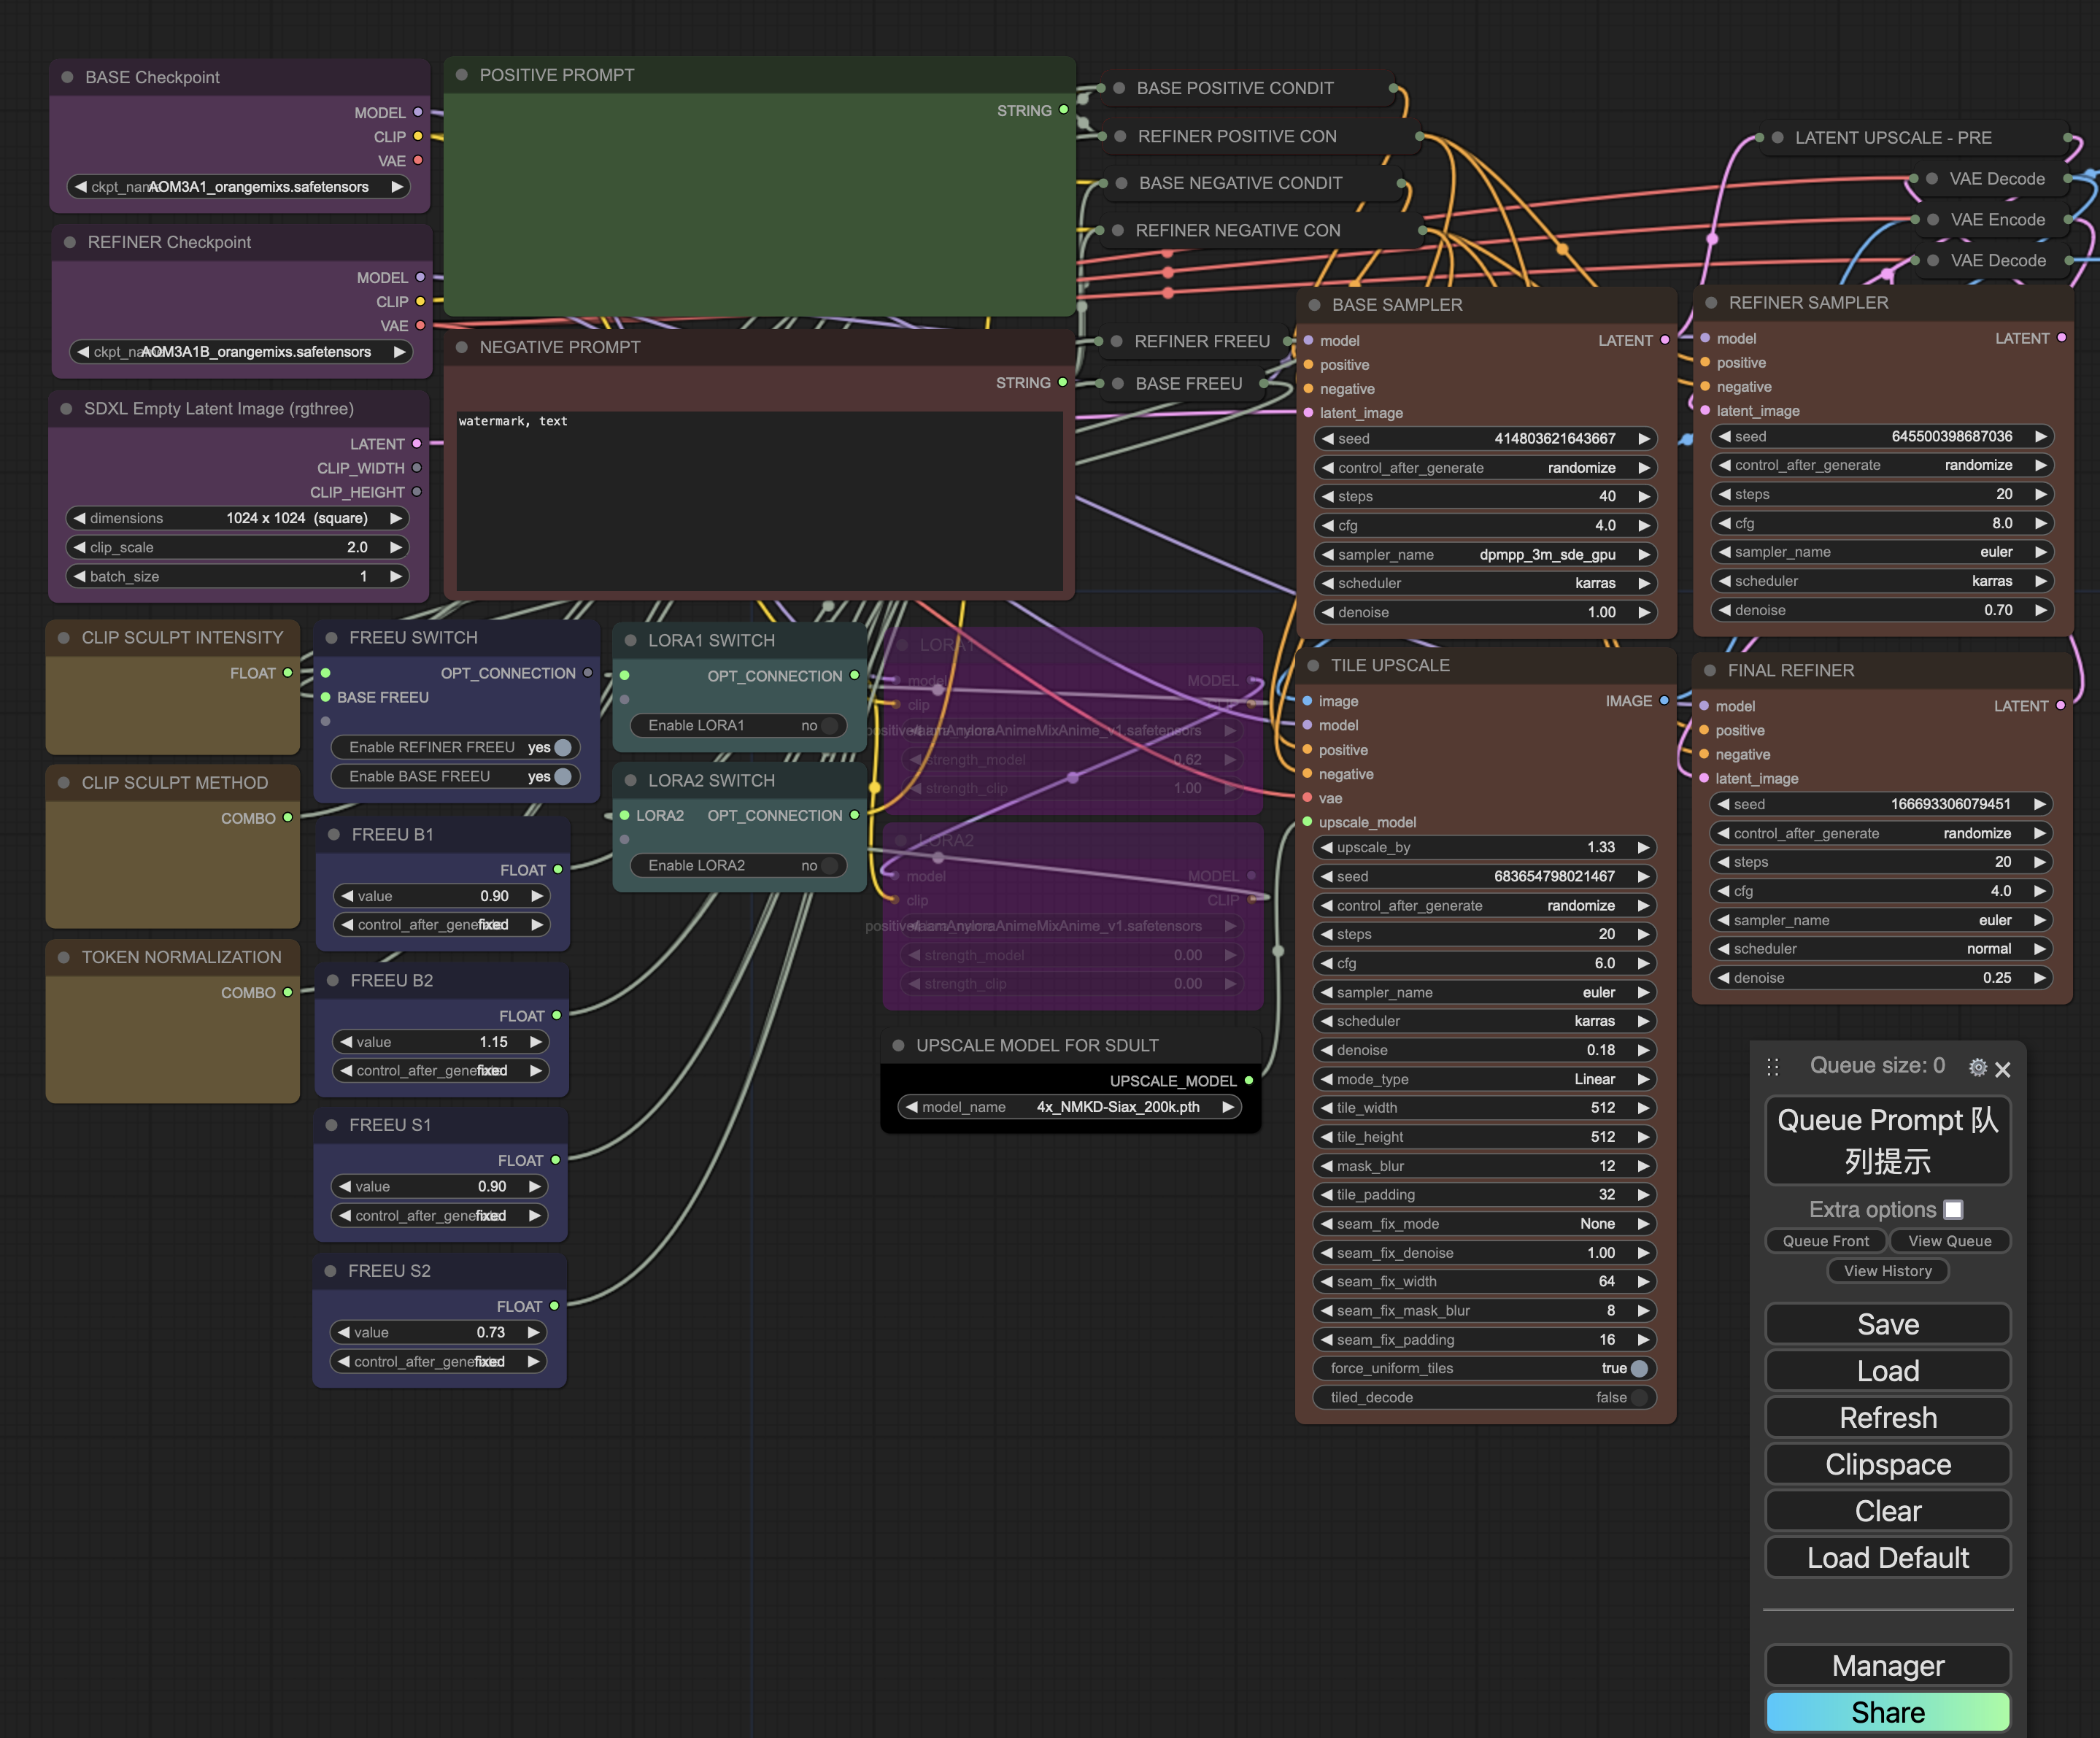
The final loaded result:
Conclusion
This ComfyUI approach is indeed much more convenient than the old WebUI, with extremely high replay value. I’ve only just started, and work has been busy lately, so I’ll tinker with it gradually when I have time. The AIGC field is developing so fast that it seems to change every day. I hope I don’t fall behind, haha…